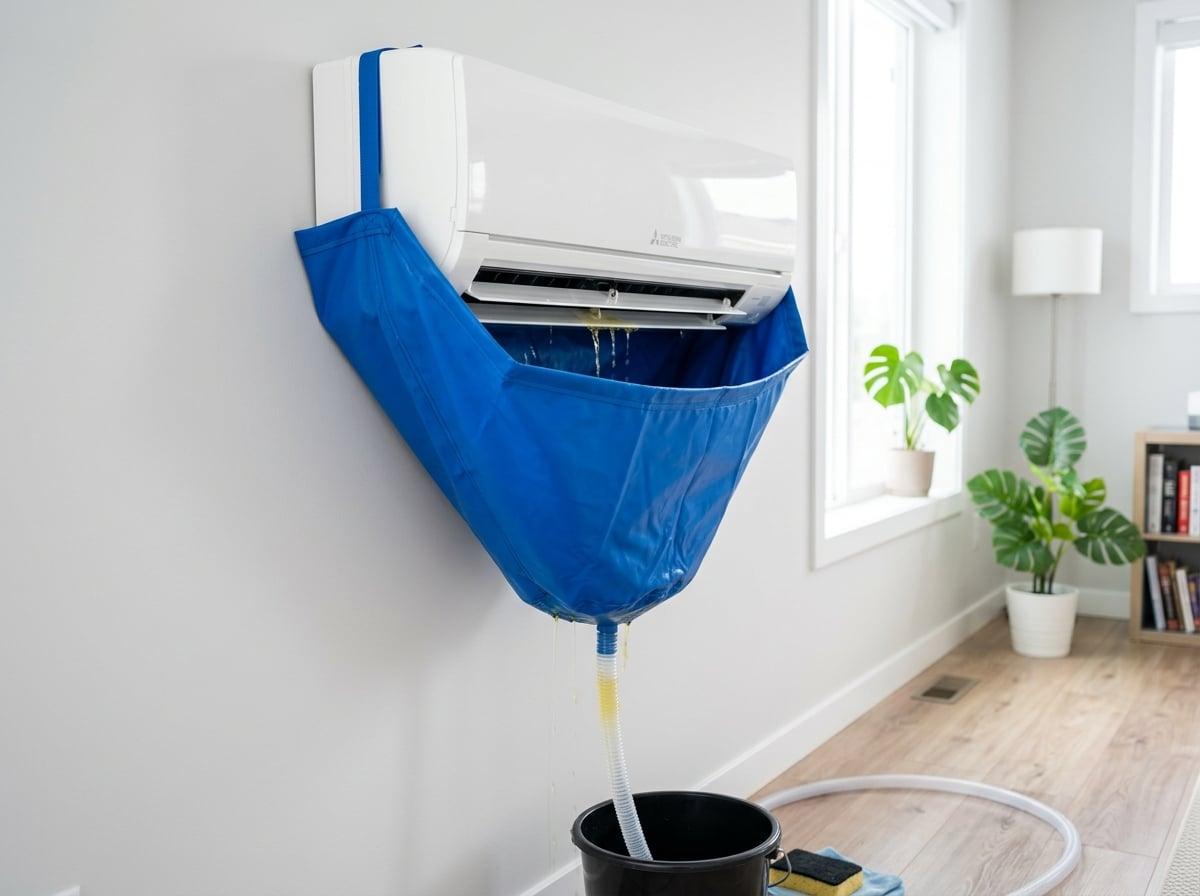
Most homeowners have never seen what lives behind the plastic cover of their ductless unit. Here is exactly what a real cleaning involves, step by step.
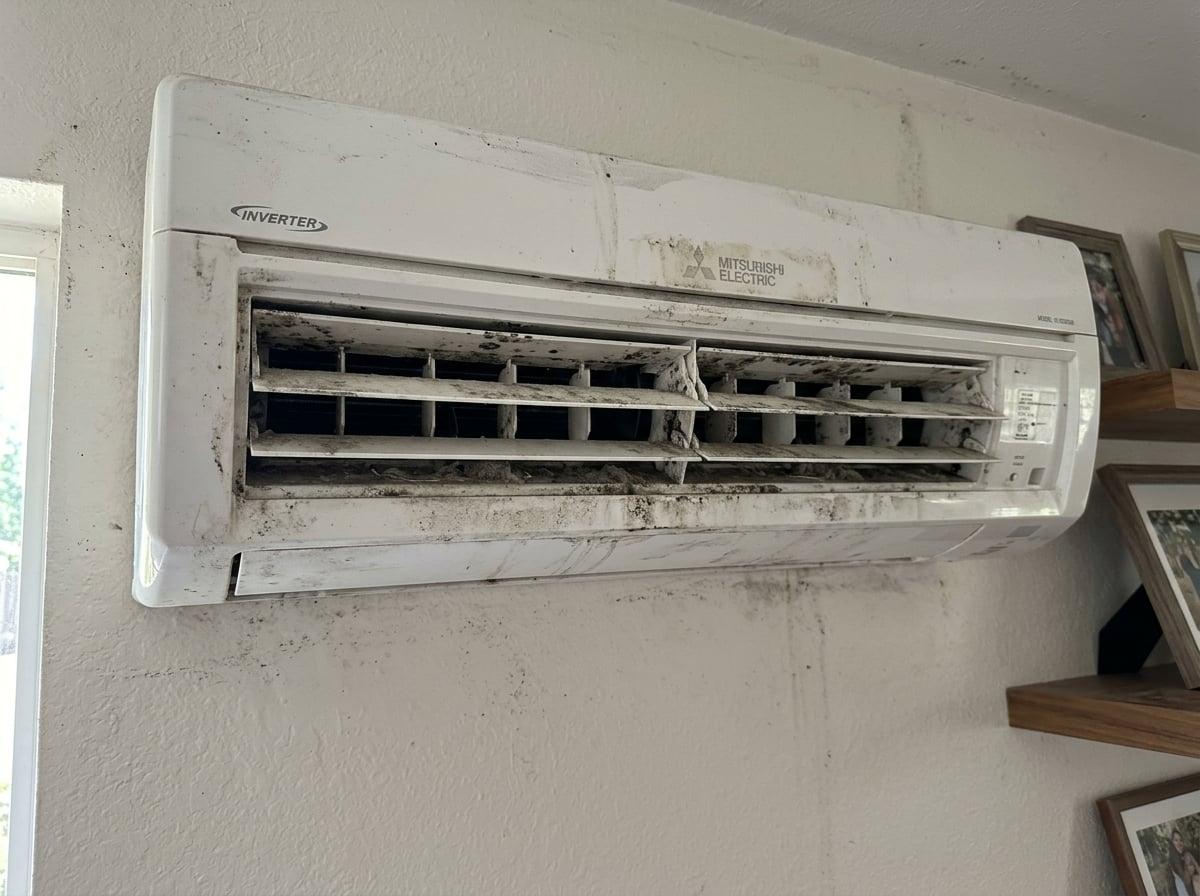
When a homeowner calls us for the first time, I usually hear some version of the same question: what are you actually going to do to my unit? It is a fair thing to ask. A ductless mini split is a smooth plastic box on the wall, and most people have never seen what is behind that cover. They know it needs cleaning because it smells, or the airflow has gone soft, but the process itself is a mystery. So let me pull the cover off, figuratively, and walk you through what a real cleaning looks like from the moment we arrive to the moment we pack up.
It starts with a look, not a hose
The first thing a good technician does is nothing at all with water. We shut the system down at the disconnect for safety, then open it up and simply look. What is the model? How is it mounted? Is the drain line running downhill the way it should, or has someone routed it uphill at some point? Is there visible mold on the blower wheel, or standing water in the pan? I have found cracked coils, chewed wiring, and units installed so far out of level that they were never going to drain properly. You want to catch all of that before the cleaning starts, not halfway through.
This inspection is also where an honest company earns its keep. If your system genuinely does not need a full deep clean yet, this is the moment to say so.
Protecting your home is half the job
Ask any homeowner what worries them about this service and the answer is almost always the same: the mess. They picture black water running down the wall and pooling on the floor. That fear is well earned, because a mini split cleaning done wrong is genuinely messy. This is where the containment bib comes in. It is a fitted plastic shroud that wraps the entire indoor unit and funnels every drop of runoff down into a bucket. We cover the wall below it and lay protection on the floor and any furniture nearby.
Done properly, you could clean the unit above a hardwood floor and a white sofa and leave both spotless. If a company shows up without a real containment system, that alone tells you how the rest of the job will go.
Filters and the parts you can reach
With everything protected, we pull the washable filters and clean them thoroughly. This is the one part of the process you can and should do yourself between visits, so we always show homeowners how. We also vacuum the intake and wipe down the louvers and housing. None of this is the hard part, but skipping it just puts dirty parts back in front of clean ones.
The coil and blower wheel: where the real work is
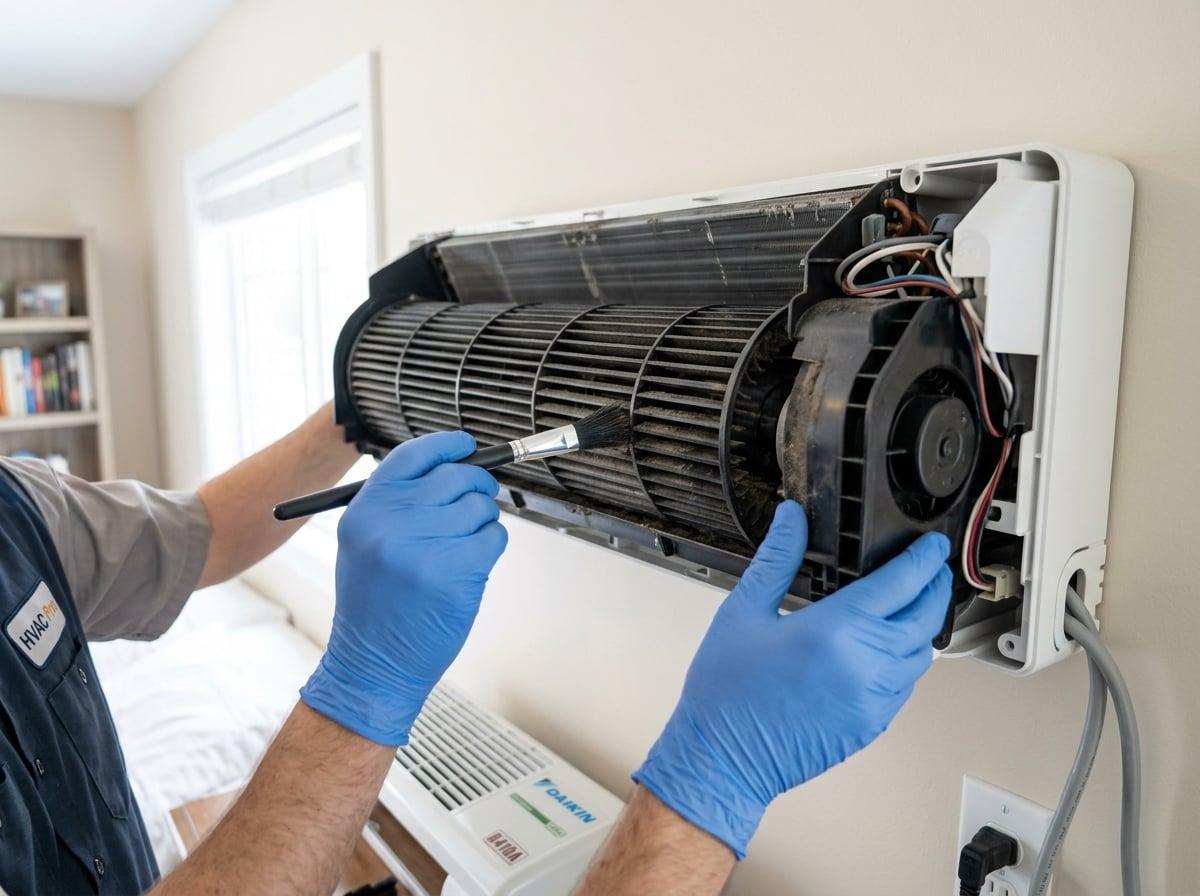
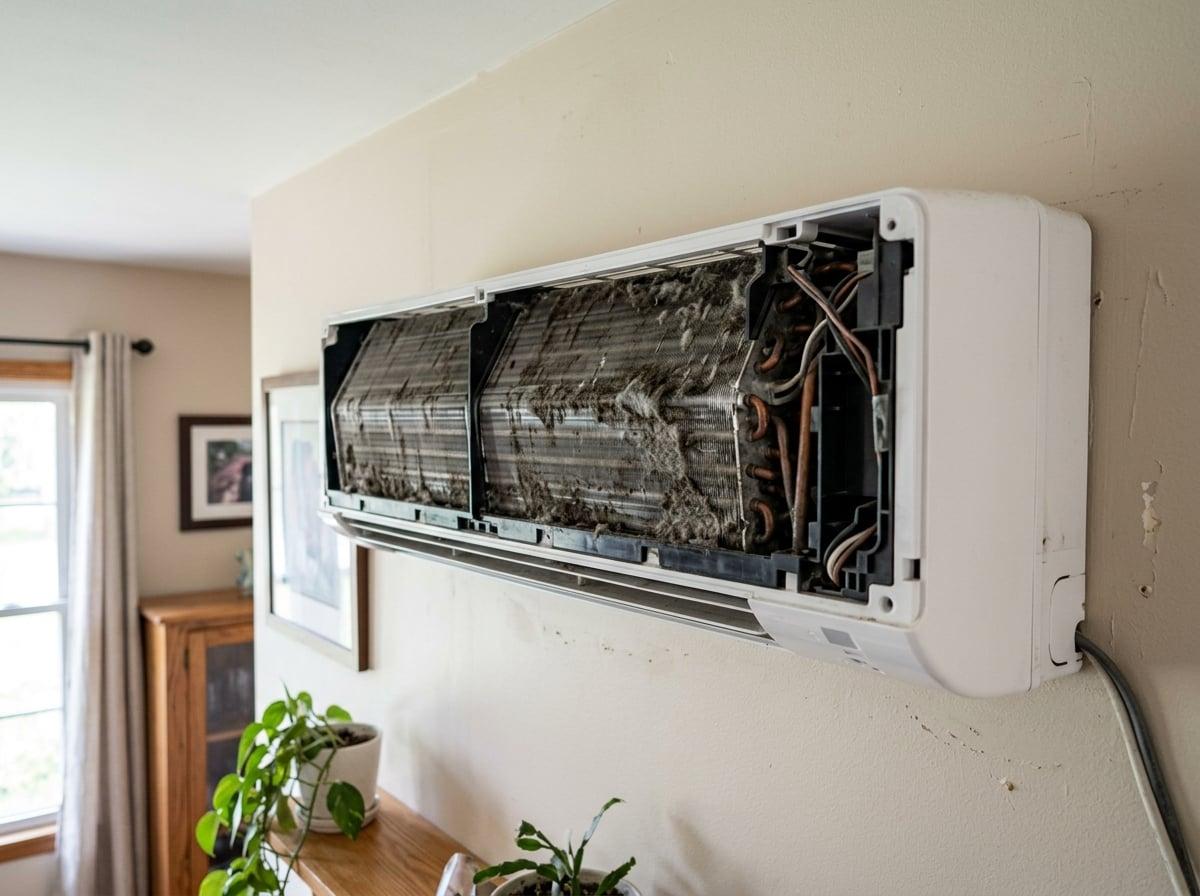
Behind the filters sit the two components that actually cause most of your problems: the evaporator coil and the blower wheel. The coil is the finned surface that gets cold and pulls moisture out of the air. The blower wheel is the long cylinder lined with dozens of little vanes that flings that air back into your room. Both stay damp during cooling season, and both collect a sticky felt of dust, pollen, and organic grime that no filter ever catches.
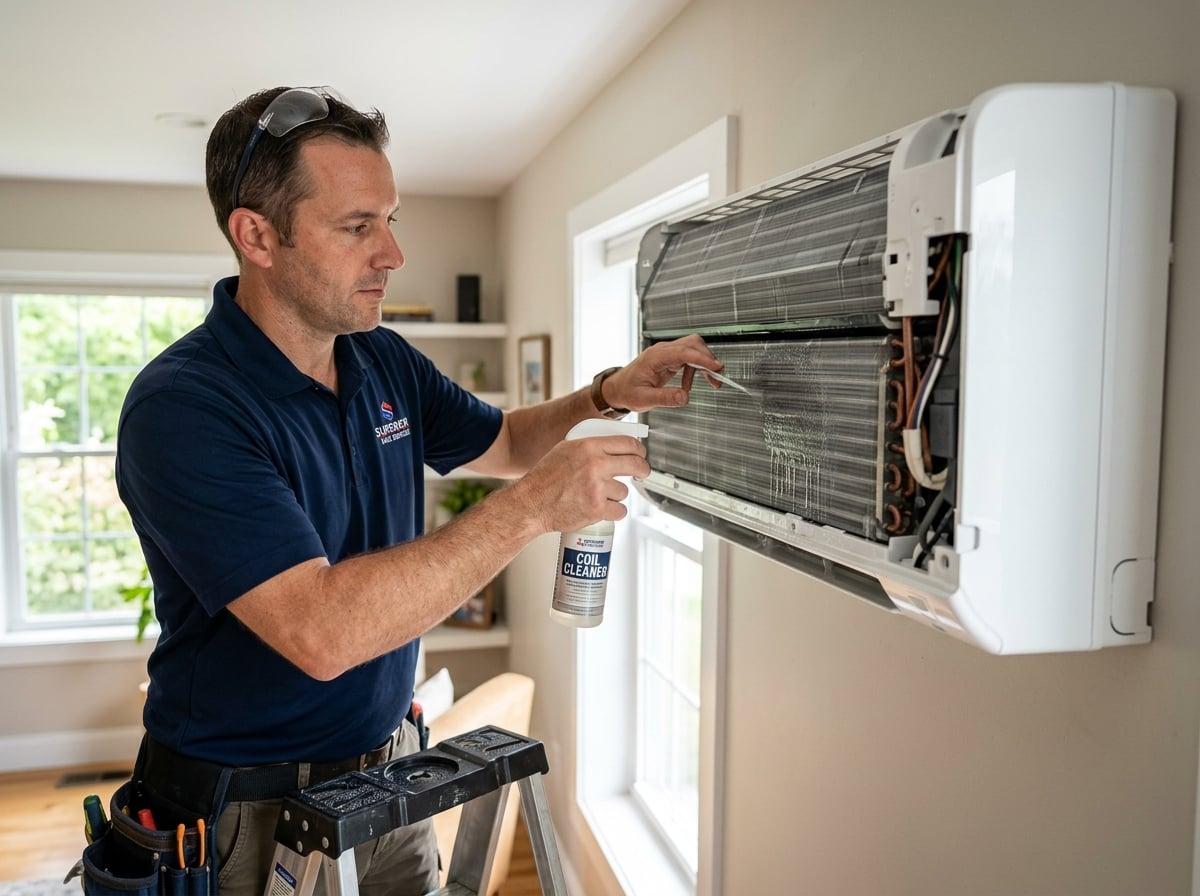
We clean these with a controlled, low-pressure system and a cleaner matched to the buildup, working it into every fin and vane and letting the containment bib carry the runoff away. I tell people not to look in the bucket if they have a weak stomach. The water that comes off a neglected unit is genuinely black, and it is a good visual reminder of what had been blowing back into the room. This is also the step that store-bought aerosol sprays cannot replicate, because they have no way to rinse the loosened grime out. They just move it around.
Clearing the drain line
Next we deal with the condensate drain. Over time, that line grows a slimy biofilm that narrows and eventually blocks it, which is the number one cause of a unit that drips onto the wall. We flush and clear the line so water moves freely again. It is a small step that prevents one of the most common and most damaging failures we get called out for.
Sanitizing, reassembly, and the proof
With the internals genuinely clean, we apply an anti-microbial treatment to knock down any lingering mold and mildew, then reassemble everything and power the system back up. The last step matters: we run it and confirm it is working. We check that the air coming out is properly cold, that airflow is strong, and that the drain is carrying water away. Then we remove the containment, clean up, and leave the room the way we found it.
Start to finish, a single indoor head usually takes somewhere between an hour and ninety minutes, depending on how bad the buildup is. Homes with several units take proportionally longer.
The measure of a good cleaning is not how the unit looks when we leave. It is that the air smells like nothing at all.
Most homeowners notice the difference within the first day: stronger airflow, a quieter unit, and air that no longer carries that damp, musty edge. If your system has never had this done, or it has been a couple of years, that is exactly the kind of buildup a full deep cleaning is designed to remove.
Greenville Mini Split Cleaning Editorial Team
Service guides
Practical guides about ductless mini split cleaning, maintenance, and indoor air quality for Greenville-area homeowners.
Want this handled by a pro?
We clean and service ductless mini splits throughout Greenville and the Upstate.
Get a Free Quote